About Me

My photo
Everett, WA, United States
I love trying new recipes and baking for my friends and family.
Powered by Blogger.

Sunday, September 25, 2011

Doughnut Time


I think Matt just became the most popular officer in the West precinct. He brought in 3 dozen doughnuts. I don't know what it is about cops and doughnuts, but they do have a special appreciation for this sweet treat.

Ever since Matt's grandpa gave us a deep fryer, I have wanted to try making doughnuts. Now that we have brought out the deep fryer for some other tasty treats (french fries, onion rings, sweet potato fries, beer-batter fish and chips...) I figured it was doughnut time. As I was searching for a recipe, I came across many types. Some doughnut recipes have a cake-like batter, while others have a yeast dough. Since I've recently become a little more confident with yeast dough, I decided to give it a try. I found this recipe on allrecipes.com.

Crispy and Creamy Doughnuts

2 (.25 ounce) envelopes active dry yeast
1/4 cup warm water (105 - 115 degrees)
1 1/2 cups lukewarm milk
1/2 cup white sugar
1 teaspoon salt
2 eggs
1/3 cup shortening
5 cups all-purpose flour
1 quart vegetable oil for frying

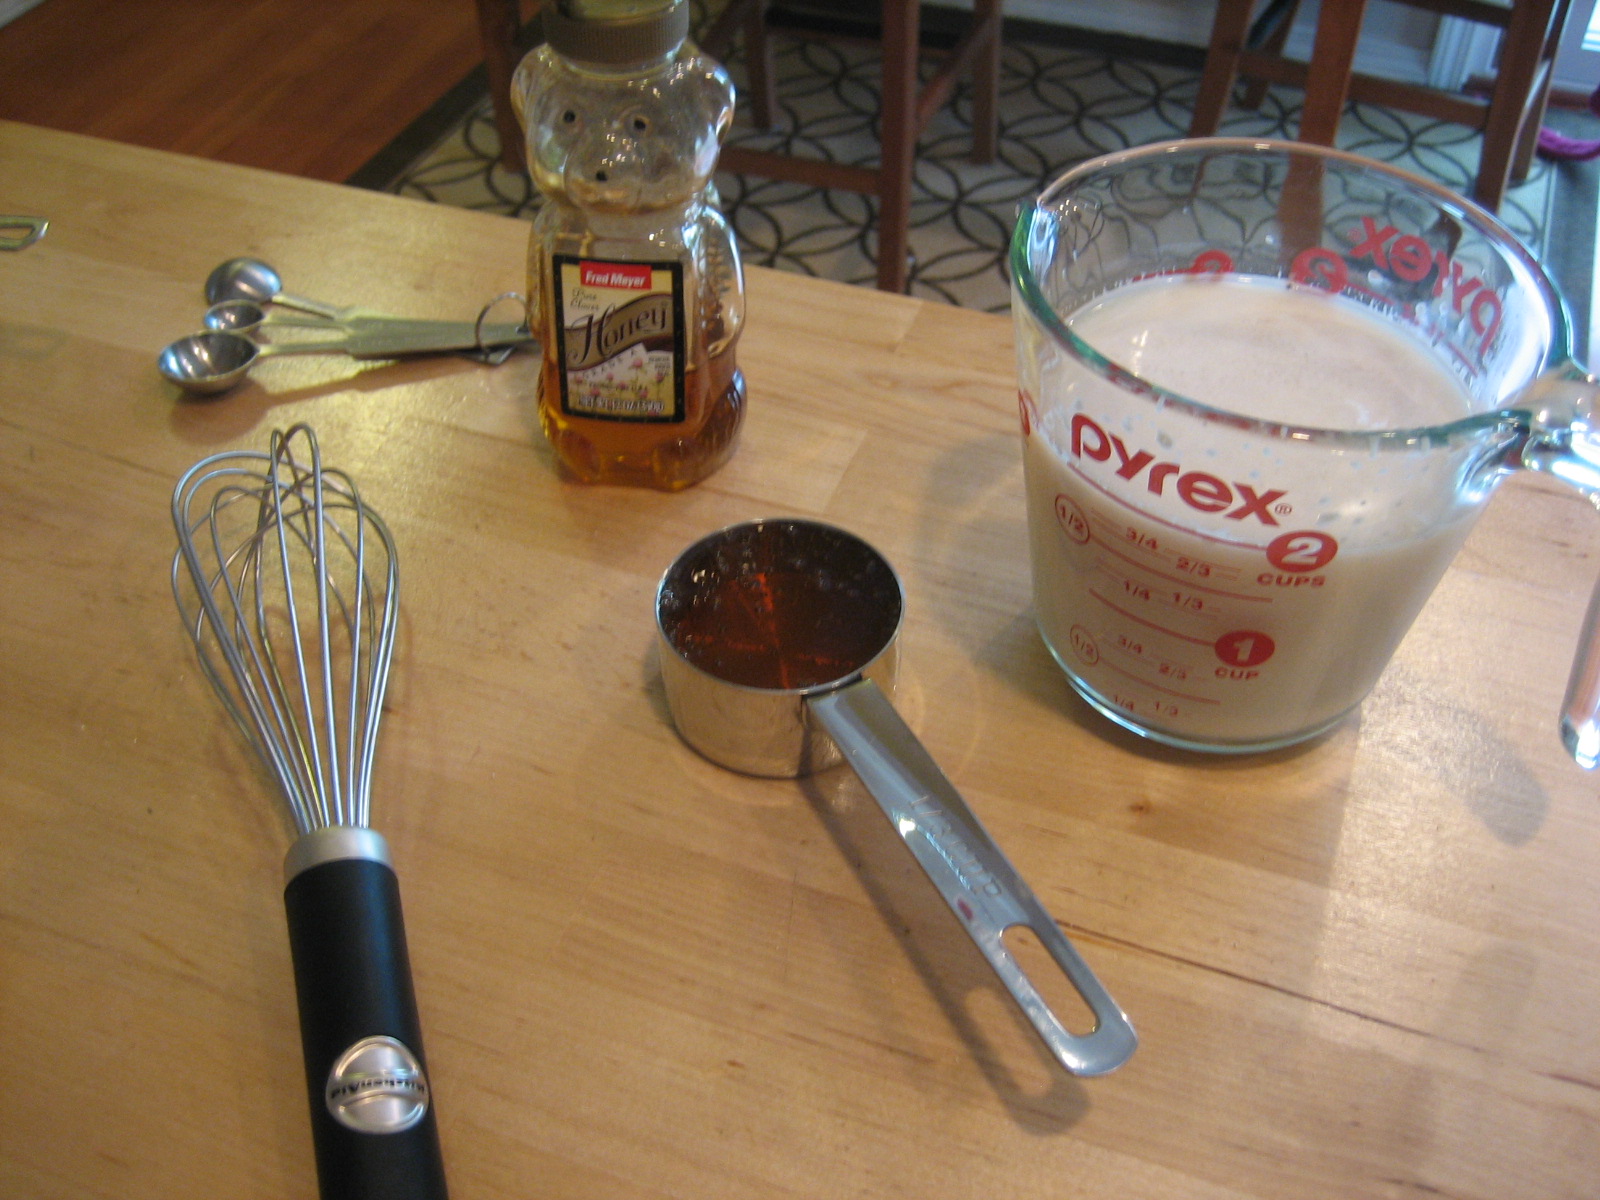
Sprinkle the yeast over the warm water and let stand for 5 minutes, until foamy.
In a large bowl, mix together the yeast mixture, milk, sugar, salt, eggs, shortening, and 2 cups of the flour. Mix for a few minutes on low speed.
Beat in the remaining flour 1/2 cup at a time, until the dough no longer sticks to the bowl. Knead for about 5 minutes, or until smooth and elastic (I used the dough hook attachment for this).
Let the dough rise, covered, in a greased bowl until doubled in size. The dough is ready if you touch it and the indentation remains instead of springing back.
On a lightly floured surface, gently roll the dough out to 1/2 inch thickness. Cut with a doughnut cutter, or a set of small cookie cutters in different sizes.
Doughnut cutter that used to be my Grandma's
Place doughnuts onto a cookie sheet, cover, and allow to rise again until doubled in size.
Don't forget to save to doughnut holes! I used the scraps to make some twisty shapes. They weren't pretty, but they were delicious.

Heat oil in a deep-fryer or large heavy skillet to 350 degrees. Slide doughnuts into the hot oil and fry on each side until golden brown - just a minute or two for each side. Remove from hot oil to drain on a rack and top with glaze.
Glaze station!
Since this was my first time making doughnuts, I wanted to try out a few different kinds of glazes. The favorites seemed to be maple and plain glaze, and Matt loved the ones that I tossed in cinnamon sugar. The trick is to get the toppings on while the doughnuts are still warm. That way, everything sticks and coats the doughnuts nicely. Here are the toppings I used:
Cinnamon Sugar topping
This was the simplest and one of the tastiest, in my opinion! I just mixed about 1/2 cup sugar with a few tablespoons of cinnamon and tossed warm doughnuts in the mixture.

Powdered Sugar topping
Simply toss warm doughnuts in powdered sugar until coated.

Maple Glaze

2 cups powdered sugar
2 teaspoons maple extract
4 tablespoons milk

Mix ingredients together until smooth and brush onto warm doughnuts with a pastry brush.

Chocolate Glaze

3/4 cup semi-sweet chocolate chips
3 tablespoons butter
1 tablespoon light corn syrup
1/4 teaspoon vanilla extract

In a double-boiler over hot (but not boiling) water, combine chocolate chips, butter, and corn syrup. Stir until chips are melted and mixture is smooth, then add in vanilla. Using a small spatula, spread over warm doughnuts.

Classic Glaze
found with the doughnut recipe at allrecipes.com

1/3 cup butter
2 cups powdered sugar
1 1/2 teaspoons vanilla
4 tablespoons hot water (or as needed)

In a saucepan, melt butter over medium heat. Stir in powdered sugar and vanilla until smooth. Remove from heat and stir in hot water until the glaze is thin, but not watery. Dip warm doughnuts directly in glaze, turning to coat. Place on cooling rack to harden and allow excess glaze to run off.

Wednesday, September 7, 2011

Cinnamon Rolls

Cinnamon rolls are delicious and there is nothing better than homemade - yum! I used a recipe from Smitten Kitchen and actually baked these rolls on separate days. I ended up baking one batch for us and then freezing a whole pan and baking it on a different day* so that they could be fresh for Matt to take in to work.

Cinnamon Rolls
For Dough:

1 cup whole milk
3 tablespoons unsalted butter
3 1/2 cups flour
1/2 cup sugar
1 large egg
2 1/4 teaspoon (one packet) instant yeast
1 teaspoon salt

Combine milk and butter in a glass measuring cup. Microwave on high for 30-45 seconds, until butter is melted and mixture is warmed to 120-130 degrees. Add the yeast to the milk and butter mixture and let stand for a few minutes to activate. Pour into the bowl of a stand mixer fitted with the paddle attachment and add 1 cup of the flour, sugar, egg, and salt. Beat on low speed for 3 minutes. Gradually add the additional 2 1/2 cups flour. Beat on low until flour is absorbed and mixture is sticky, about 8 minutes.

For this process, I switched over to the dough hook attachment. My dough was pretty sticky, so I ended up adding a little flour. Not too much, because you don't want it to become tough.

Form dough into a ball and place in a lightly oiled bowl. Cover and allow the dough to rise in a warm place until it has doubled in size, about 2 hours. In my kitchen, the top of the refrigerator seems to be a "happy place" for my dough to rise. It stays pretty warm up there and is out of the way.

After 2 hours and doubled in size

On a floured surface, roll out dough to a 15 by 11 inch rectangle.
Meanwhile, prepare the delicious cinnamon roll filling.
Cinnamon Roll filling:

3/4 cup packed brown sugar
2 tablespoons cinnamon
1/4 cup softened butter
pinch of salt

Mix the brown sugar, cinnamon, and pinch of salt in a small bowl. Spread the softened butter evenly over the rolled out rectangle of dough. Sprinkle the cinnamon sugar mixture over the top.
Now comes the fun part! Starting on the longer edge, roll the dough into a log, pinching gently to keep it rolled up. With seam end down, cut crosswise into equal slices, each about 1/2 to 3/4 inch wide.
Arrange cut rolls in a greased baking dish, keeping them close together. * If you are freezing the rolls to bake later, like I did with half of my batch, stop at this point and wrap the pan tightly with plastic wrap and then foil. The day before you are ready to bake them, allow the pan to sit at room temperature overnight, until rolls are completely thawed and have had a chance to rise and double in size.
Cover pan and allow rolls to rise an additional 45 minutes to an hour, until doubled in size again.
After another hour

Bake rolls at 375 degrees for 20 minutes, until tops are golden brown and cinnamon mixture is bubbly. Remove from oven and immediately invert onto a cooling rack.
Upside down rolls - let all that cinnamon-y goodness sink in!

The final step is topping them with a delicious cream cheese glaze.

Glaze

4 ounces cream cheese, at room temperature
1 cup powdered sugar
1/4 cup unsalted butter, at room temperature
1/2 teaspoon vanilla extract

Combine all ingredients into a medium bowl and beat with an electric mixer until smooth. Spread glaze on warm cinnamon rolls and enjoy!

Adventures with Bread!

A couple weeks ago I tried something I have always wanted to do... bake my own bread! I have always been a little scared to try this because of the kneading and the yeast and the rising time. It definitely took a little time and is more of a weekend project, but it was worth it! I made my own bread and I'm so proud!

I used a basic recipe for honey wheat bread found here.

Honey Wheat Bread
2 cups warm water (110)
2 cups whole wheat flour
1 tablespoon active dry yeast
1 teaspoon salt
1/3 cup honey
1/3 cup vegetable oil
5 cups all-purpose flour

The first step is to activate the yeast. I heated 2 cups of water in the microwave in 30 second intervals and measured the temperature until it reached 110. Because this was my first time baking bread, I wanted to be careful so I was sure that I was doing it right!

Yeast before
Yeast after "activating" for a few minutes in the warm water
After the yeast has dissolved into the warm water, add the honey and stir well. Mix in the whole wheat flour, salt, and oil. Work the all-purpose flour in gradually. Turn dough out onto a lightly floured surface and knead for 10-15 minutes, until smooth and elastic.

For this process, I brought out the dough hook attachment for my Kitchenaid. I have never used this before, so clearly I was very excited.
Once I added all the flour, however, the dough had too much volume for my poor mixer to handle all at once. I decided to divide up the work, so I kneaded half while I let half work around in the Kitchenaid, then I switched. Finally, I put both halves of the dough together and kneaded the rest by hand. This kneading business is hard work. It is different from kneading pie crust or sugar cookie dough. Bread dough is tough and it takes some serious muscle to knead! I kind of liked it, though. I felt strong and found a new respect for my grandma and great-grandma. I definitely got my upper-body workout for the day!

Once the dough has been kneaded, place it in a lightly oiled bowl and cover with a towel. Let it rise in a warm, draft-free place until dough has doubled in size.

Here is my dough after 2 hours:
Shape the dough into two loaves and place into two well-greased loaf pans. Allow to rise again, until dough is 1 - 1 1/2 inches above the edge of the pans.

I forgot to take a picture of the bread after it rose again, but after and hour or so, it doubled in size! Before I popped the bread in the oven, I brushed the top with an egg white mixed with a tablespoon of water and I sprinkled with some wheat bran.

Bake at 375 for 25 to 30 minutes until internal temperature of bread reaches 200.

I did it! I made my own bread! I have to say it tastes pretty good. I froze one of the loaves and we have been using the bread the last 2 weeks. Next time, I am going to branch out with some different add-ins and flavors. This was a good first step for me, though. An added bonus is that fresh baked bread makes the house smell wonderful!

Homemade wheat bread makes good sandwiches...
And french toast!